Windows - How to add additional Display Languages:
About:
This document explains how to add and apply an additional Windows display language in Windows 11.
It is intended for users who want to change the Windows interface language to English (United States) without reinstalling the operating system.
For Business Machines only.
On your private machines, there are no restrictions to change the language as you please.
- Keyboard layout
- Date, time, or currency format
- System locale
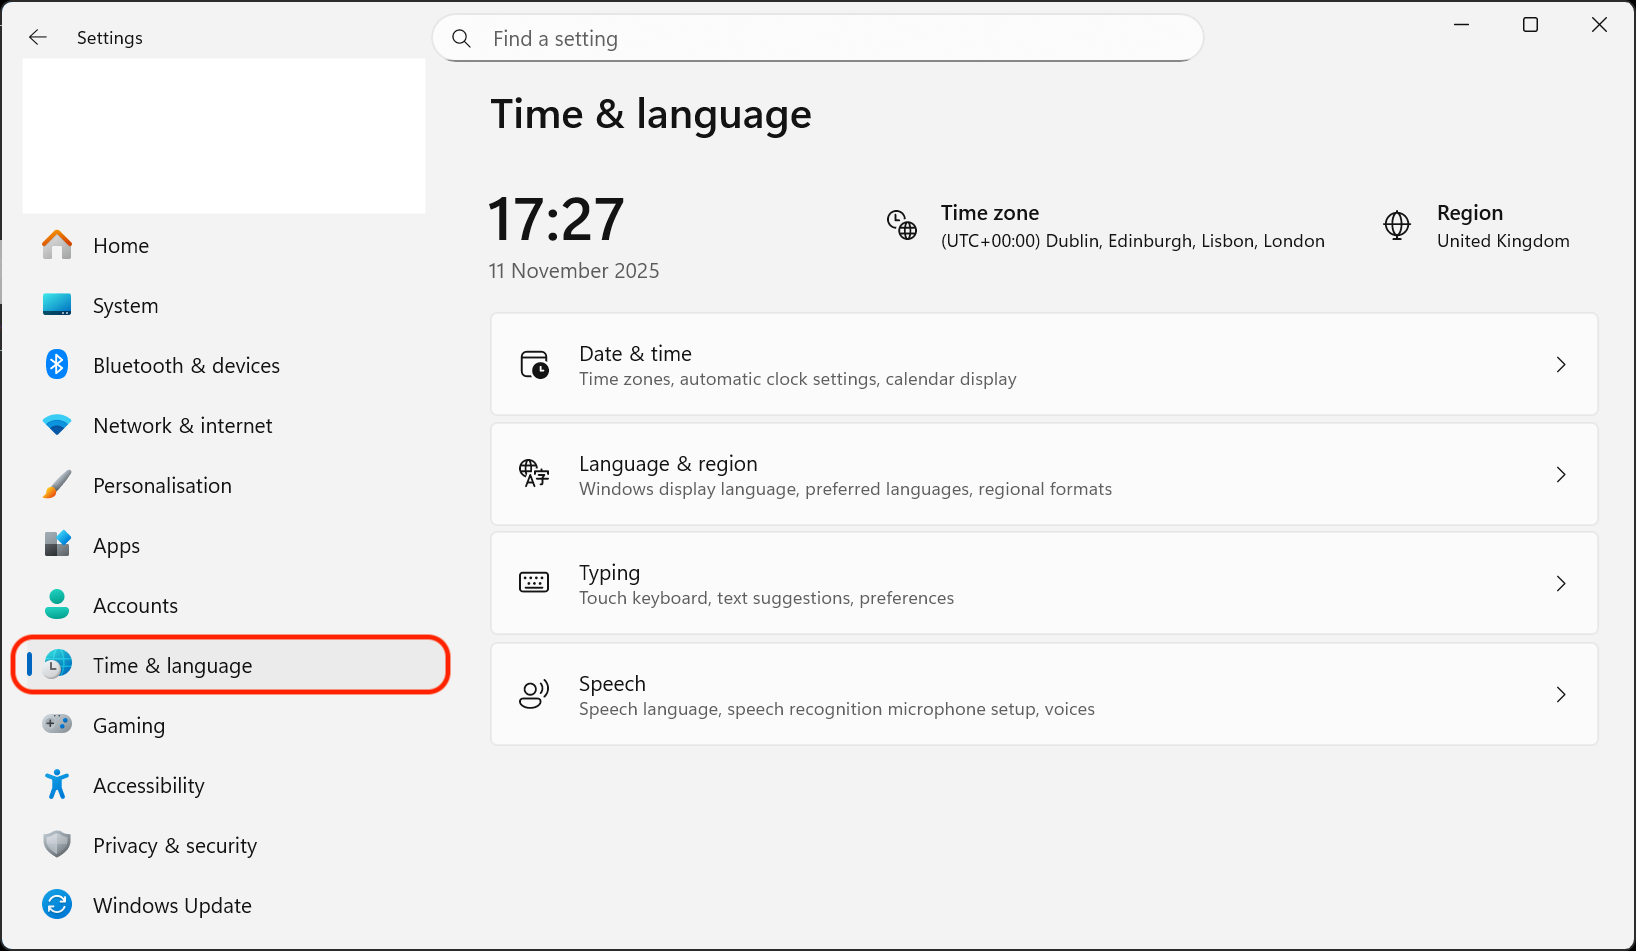
Step 1: Open Language & Region Settings:
⚠️ Language packs are downloaded from Microsoft and require an internet connection.
1, Click the Start button (🔍 or press the Windows key)
2, Select Settings ⚙️
3, Go to Time & language
4, Select Language & region
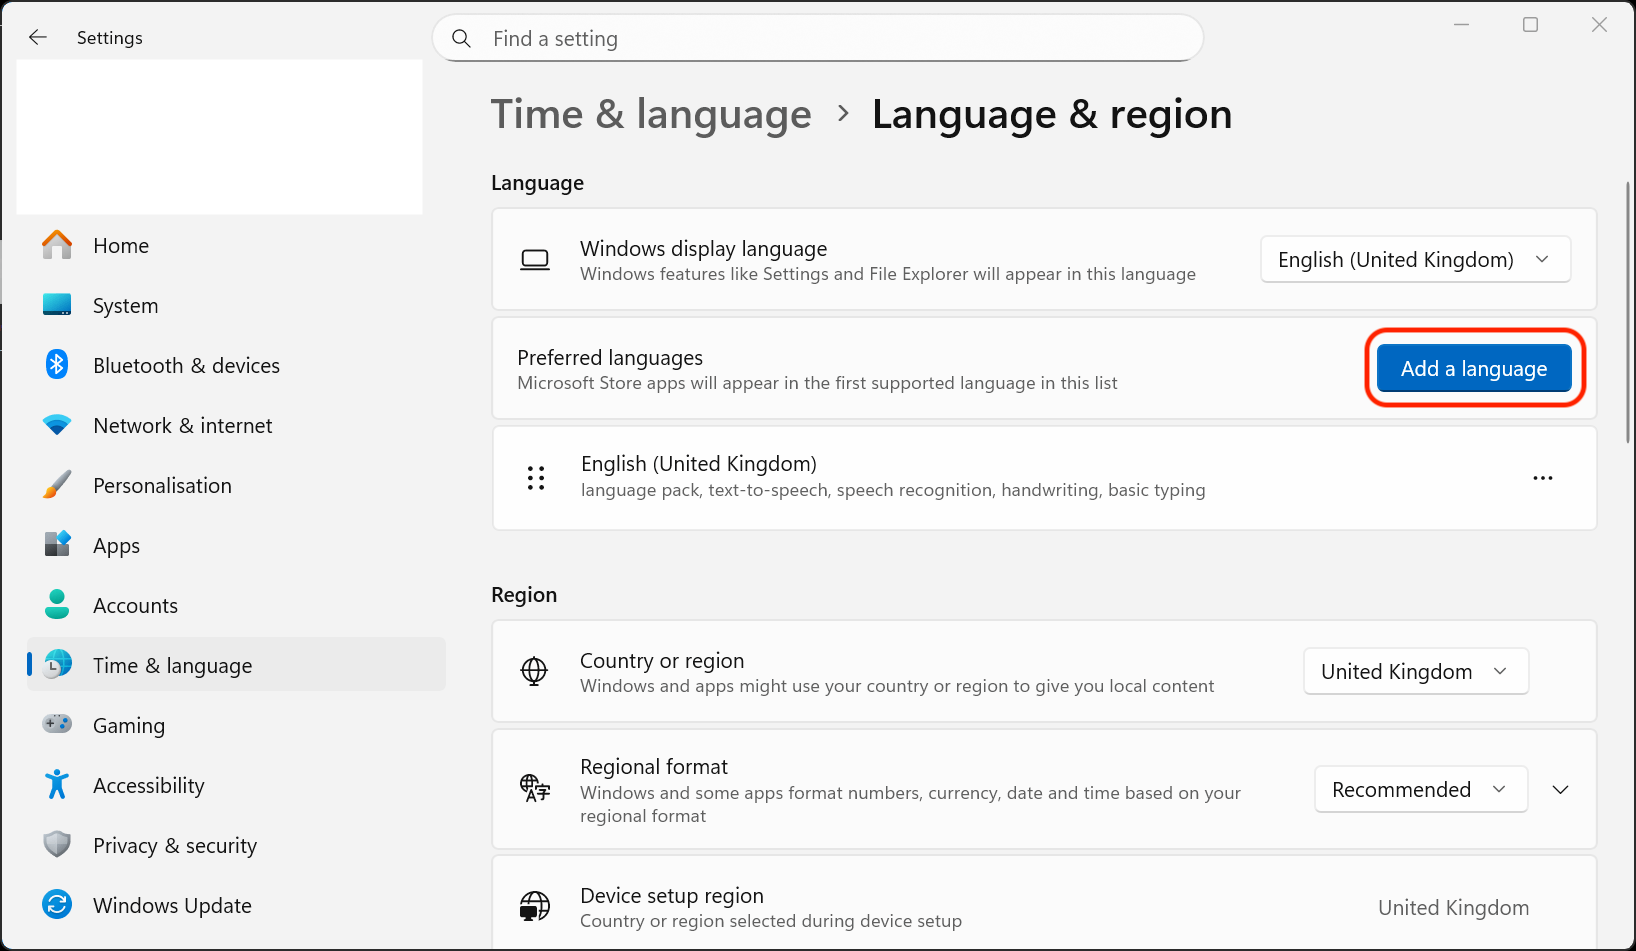
Step 2: Add English (United States):
1, Under Language, select Add a language
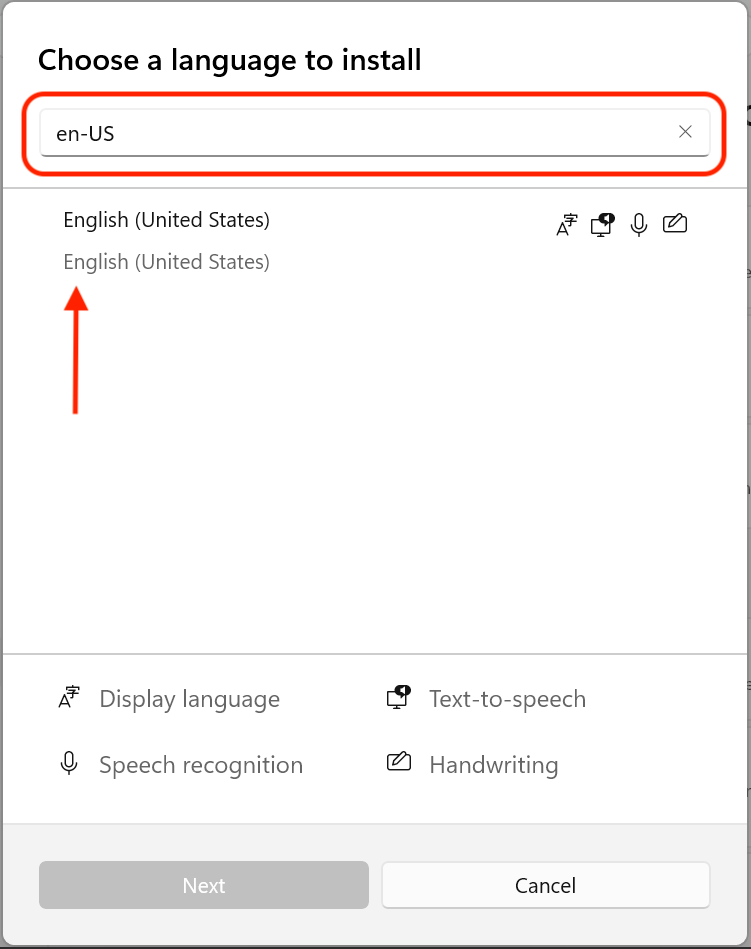
2, In the search bar, type English (United States)
3, Select it from the list and click Next
4, In the installation options:
◦ ✅ Check “Set as my Windows display language” if you want to switch immediately
◦ Optional: Uncheck speech or handwriting features if not needed
5, Click Install
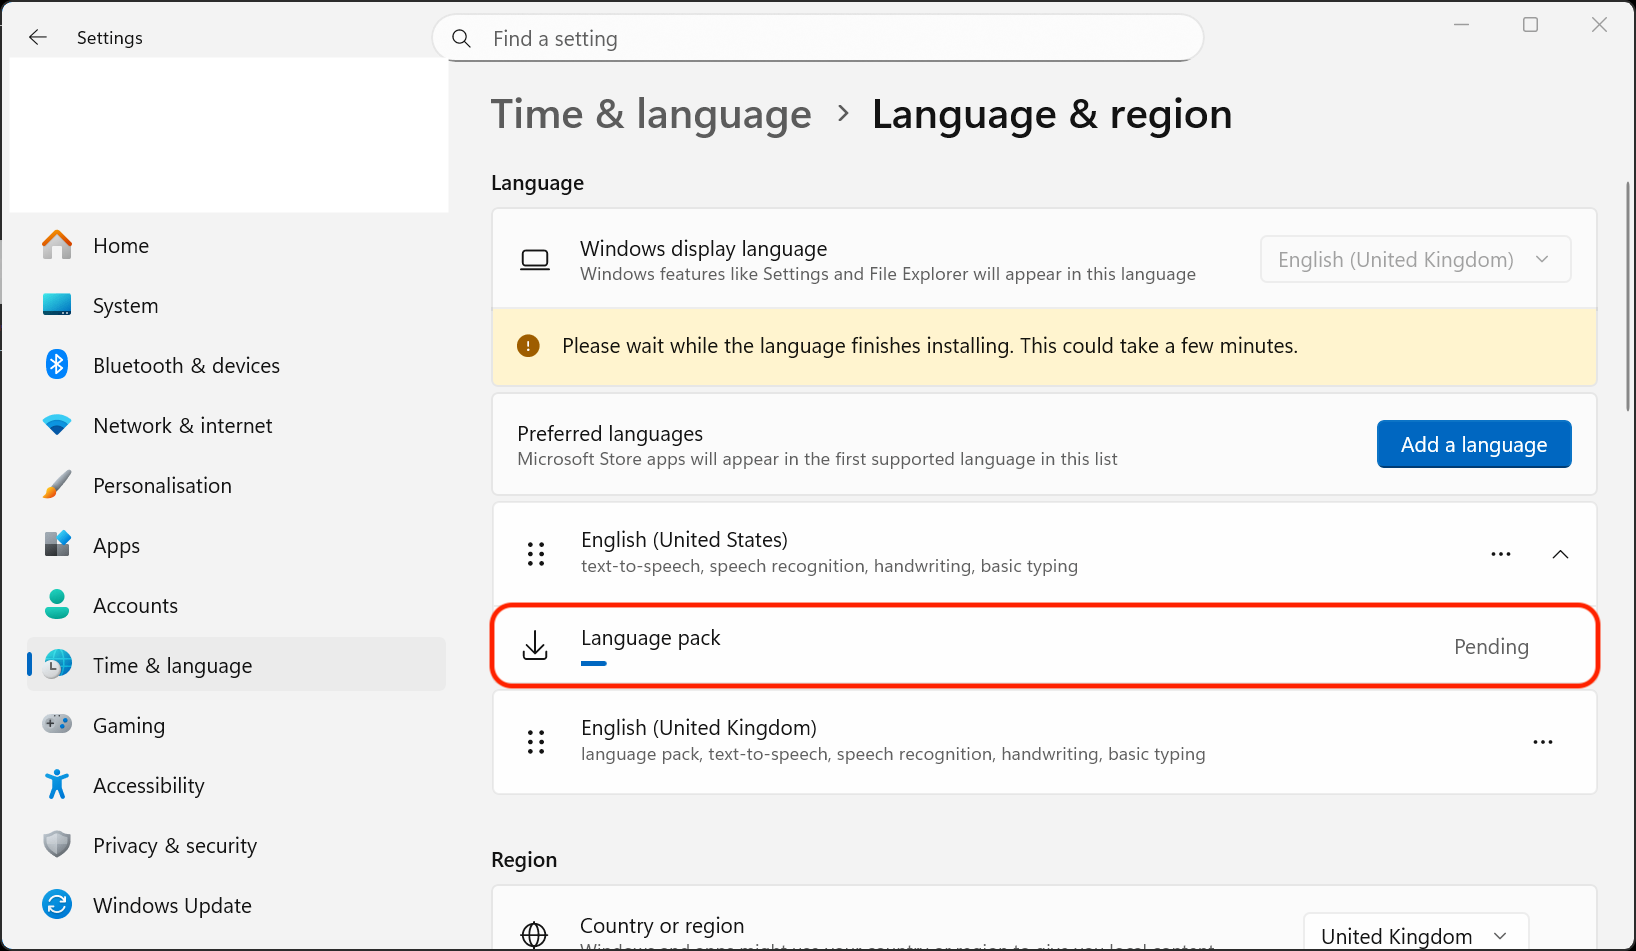
Step 3: Apply the Language:
1, Go to Settings → Time & language → Language & region
2, Under Windows display language, select English (United States)
Step 4: Sign Out to Apply Changes:
1, You will be prompted to sign out
2, Click Sign out now, then sign back in to apply the change
And you are done 😄